Booting Up the Internet of Things
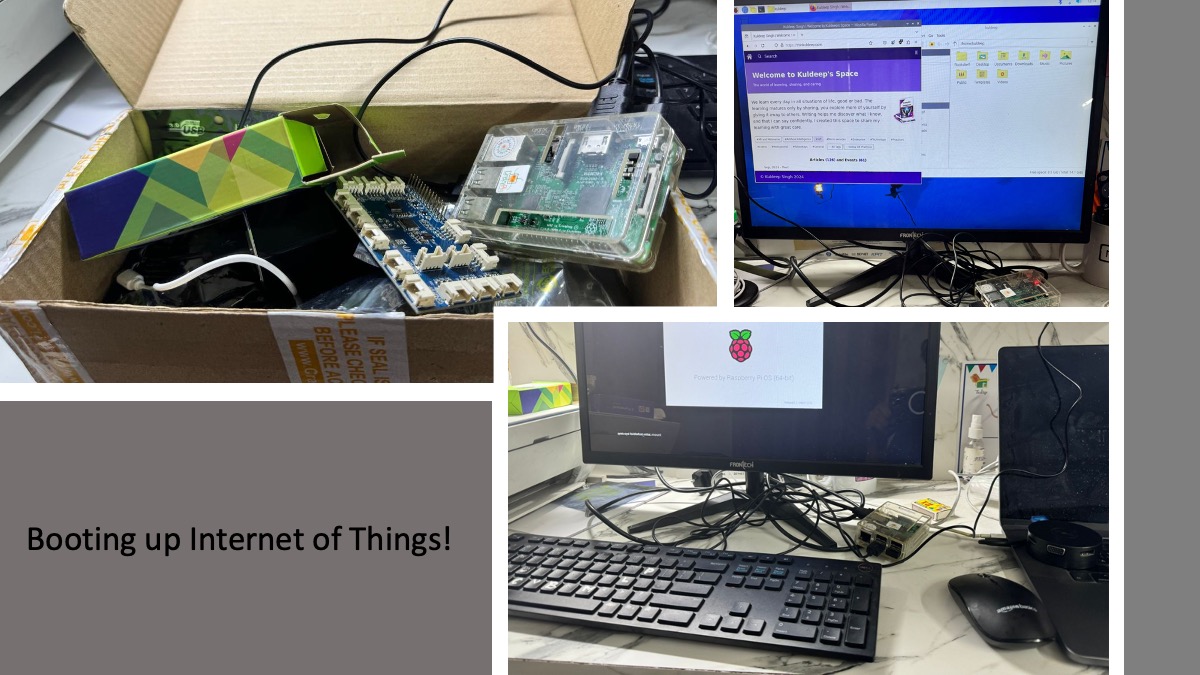
- 4 minutes read - 641 wordsA few years ago, I bought a Raspberry Pi 3, but during a house move, I misplaced it. Fast forward to this Diwali cleaning, and to my surprise, I found it! My son’s curiosity was piqued, so we decided to set it up together. While my recent focus has been on XR technologies and we setup XRPractices, but this moment brought me back to IoT — sparking the idea to share my journey and experiences through a series of articles on getting started with IoT.

So why this article when there’s plenty of good documentation for this topic out there? Well, while I used the very first version of Raspberry Pi years ago, it was pre-configured for me. This time, I wanted to start from scratch and share the steps for anyone wanting to dive into IoT. Here’s a quick guide to get you up and running faster with Raspberry Pi and IoT experimentation.
What You Need:
- MicroUSB Power Cable (no USB-C for me, since my Pi is a bit older) and a 5V adapter.
- 16GB or larger microSD card and a card reader. A USB storage device may also work with some tweaking with some versions.
- A standard HDMI-compatible monitor, mouse, and keyboard.
- Patience — especially if you’re used to faster PCs!
Get the OS Image Ready
First, powering up your Raspberry Pi requires more than just plugging it in. You’ll need an operating system on a microSD card. So, the first task is to prepare the OS.
- Make sure your PC can read a microSD card.
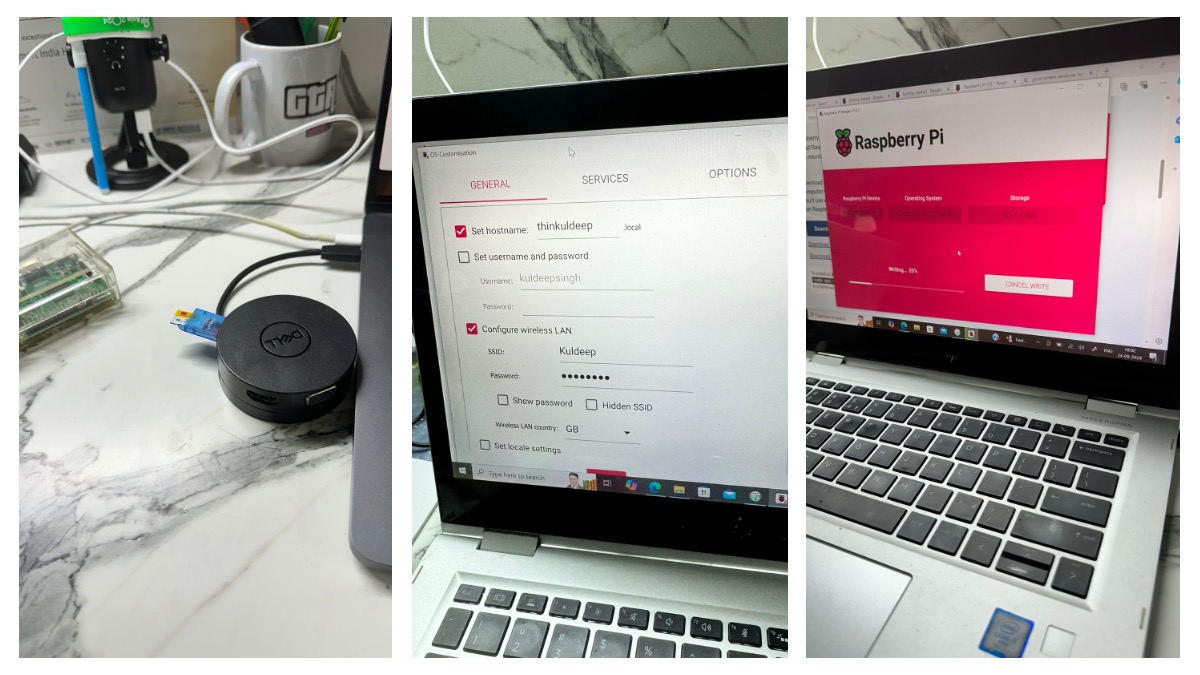
- Download and install Raspberry Pi Imager on a PC.
- Insert the microSD card, select ‘Raspberry Pi 3’ as the device, choose the default OS, and configure settings like username, password, WiFi credentials, or even SSL.

I went ahead with the default settings. Within a few minutes, the OS image was ready on my microSD card.
Booting Up the Raspberry Pi
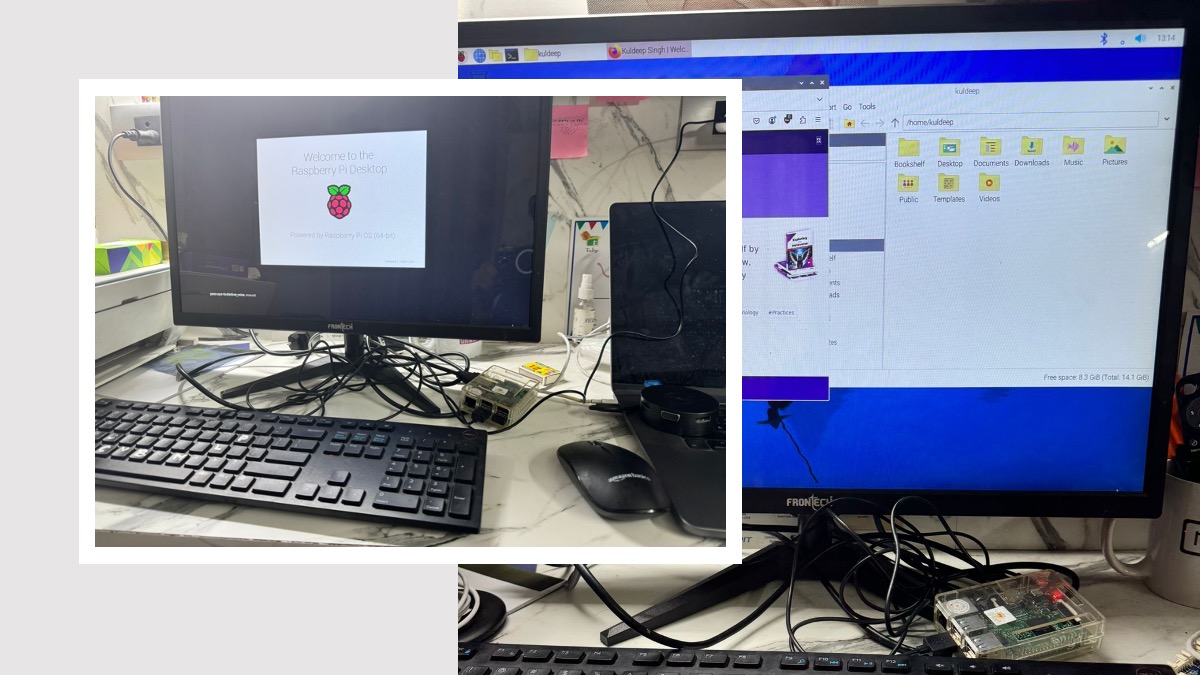
Now, insert the microSD card, plug the monitor into the HDMI port, and connect the keyboard and mouse to the USB slots. Finally, power it up via the microUSB “PWR” port.
Voila! Your Raspberry Pi desktop should boot up. The first-time setup will guide you through language, region, and keyboard settings. Once done, you’ll be greeted with a simple desktop environment, complete with pre-installed software like Firefox, Chromium, and Terminal. Browse around to get familiar with the interface — but remember, it won’t be as fast as your usual PC.

Remote Access or Not?
If you want to avoid cluttering your desk with an extra keyboard, mouse, and monitor, you can set up Raspberry Pi Connect to access the Pi remotely from your laptop. After creating a Raspberry Pi ID and signing in on your PI, you should be able to access it remotely.
However, in my case, I was only able to get shell access — full remote access didn’t work as expected, likely because the feature is still in beta. So for now, it’s better to have dedicated peripherals for the Pi if you want a smoother experience.
What’s Next?
While setting up the Raspberry Pi was fun for my son, but he wasn’t impressed with its performance compared to his regular PC. He questioned the need for this “new PC” when it wasn’t exactly fast and would occupy more desk space.
But the fun is just beginning! In the same box where we found the Raspberry Pi, there was a GrovePi board. This will be my chance to show him the exciting potential of the Pi with sensors and real-world IoT projects. However, I’ll need to order a few cables and sensors first.
Stay tuned for the next article, where we’ll explore some basic use cases for the Raspberry Pi with GrovePi! Slowly we will get deep into IoT and edge computing.
Find the IoT Practices Publication for more details.
#IOT #raspberry pi #rebooting #cloud #getting started #learning #technology #fundamentals